Today I wanted to show a few images of how I went about creating the mold for the baby sculpt as well as how the final mold turned out.
I used Shell Shock and Plasti Paste from Smooth-On to create the mold. I’m new to these materials and they were a little bit of a headache to get used to as I had a bit of a learning curve with them. All in all, the mold turned out alright though not the prettiest thing. lol The lightweight materials didn’t kill me in shipping costs so that was a plus. And the client had no issues with using the mold to cast from.
Will I use the same materials again…..I don’t know. Maybe.
First I placed the sculpture (still on the stand) on the floor as I don’t have a big enough table for this one. Then I used video tapes to build up an area around it – usually use wood blocks, but was out. Tapes worked fine. I then used sculptex clay as the clay wall so I could mold the front half of the sculpture. As you can see I got a little scatter-brained deciding what type of keys to use. So it ended up being a miss-mash of a few types.
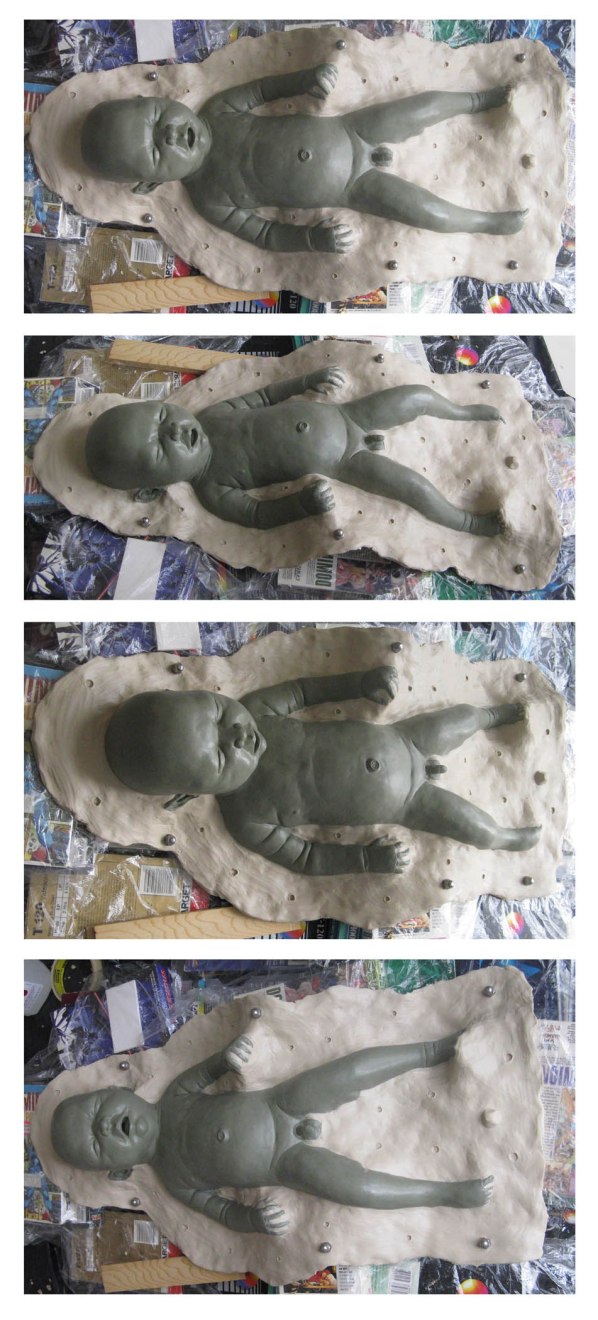
Then it came to applying the Shell Shock. This is used to capture the details of the sculpt. I put down a few layers to build it up. After those layers had set, I added layers of Plasti Paste to give it strength and durability. Acts kind of like fiberglass.
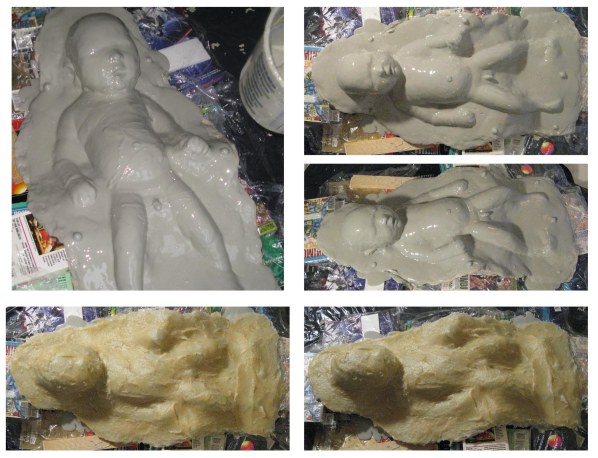
I let that all set overnight and flipped it all upside down, sculpture stand and all. Then I unscrewed the stand from the sculpture and leaned off all of the clay used it creating the dam.
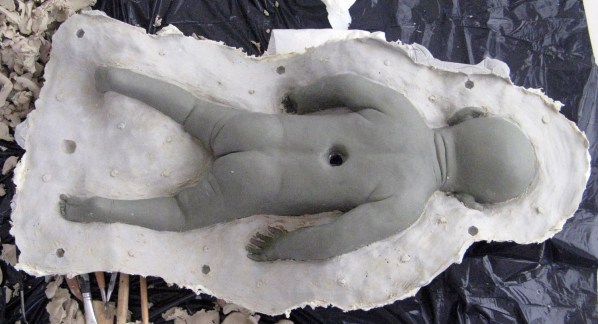
My next step was to fill in the hole where the sculpture stand was screwed into the interior armature of the sculpture. Then I added a pour spout at the top of the baby’s head and since I could see the possibility of air bubbles occurring in the castings, I added places for the air to escape via clay tubes.
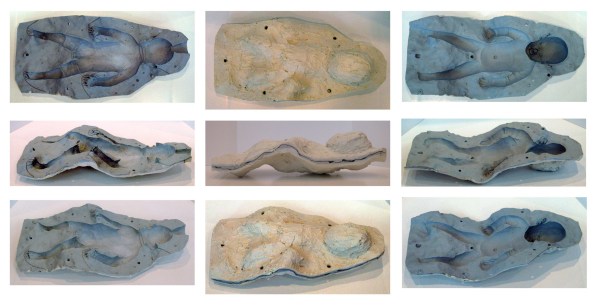
Here we have the final mold. Bottom half on the left, top half on the right and the closed mold in the center. As you can see I sawed it down a bit. Mainly done for convenience with weight when using it and for shipping.