After baking these little guys, it’s time to paint them. I use several layers of watered down acrylic paint for most of them. The eyes and teeth are less watered down, but I really enjoy the effect I get with layering thin layers of paint. Gives it a lot more depth in my opinion.
First off, I decide on the overall color each troll magnet will be. I paint that on lightly and dab it off with a paper towel. It gives me a base color to start from. The paper towel is also something I use when painting to give the paint more of a textured look to it. I find that helps a bit when painting skin with acrylic. More on that technique in future posts.
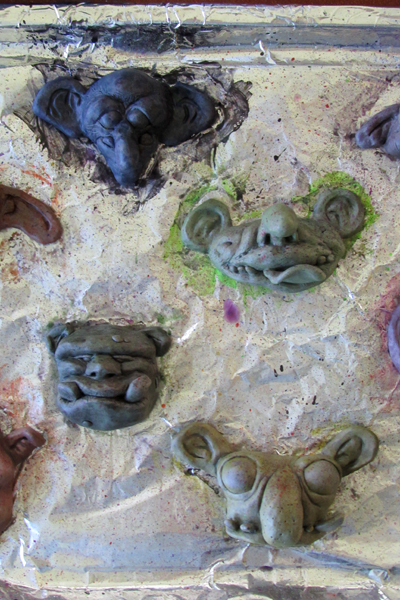
First layer of paint:

Another technique that I use is spattering thin paint on with a toothbrush or a stiff bristle paint brush. Again, my goal is to create depth and more interest in the skin and this I think helps a lot. It’s a skew on a technique that I learned from a class I took from Jordu Schell:
I continue to add layers until I like where it is. Then I paint in the teeth and eyes. Lastly, I take care of any touch ups and then clear coat them all to protect them:
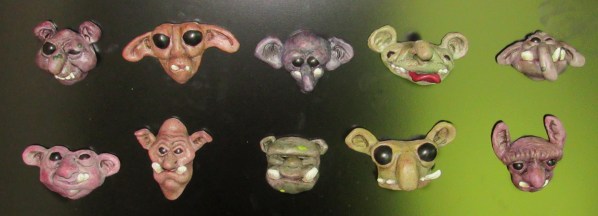
And they’re all done. This is my second set of 10 Troll Magnets that I’ve done. They’re a lot of fun to do and people seem to like them. This set will be available at the Pekin Days Art Show. If you’re in the area, you should check it out. It’s a great big art show crammed into a tiny little town. You’d be surprised how much they can pack in there for this event! These little guys will be in the $25 and under section. That’s right – I’m selling each of these critters for $20! Get ’em while you can!
I also have three larger sculptures in the main gallery section. Also trolls. 🙂 Full body sculptures with tons of ‘bells & whistles’ thrown in! I named them “Larry,” “Moe,” and “Curly” after the Three Stooges. Mind you, they don’t look like the Stooges. They have their own personalities. I’ll show the process as to how I made them in future posts and you’ll see what I mean.
Until then, stay tuned! More to come!

