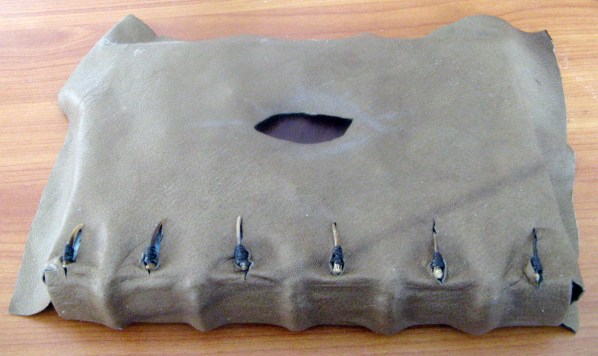
On my last post, I left off just after finishing adhering the leather to the spine and beginning to cut the claws through the leather. Now, at this point, I have cut all of the claws through the leather and cut a hole where the red leather on the front cover will be exposed. It’s more or less a placeholder right now. I’m still figuring out how to get the claws surrounding the red leather to poke through and keep it neat as well as keeping the original design (I’m finding out now how hard that is going to be):
I decided to dive in and just go for it. I began with poking holes through the leather where I thought I could gradually force the cover claws through. That worked to a point using my awl, but I found that I still had to fiddle with it and I eventually did cut slits with the box cutter you see in the picture. I only made small slits as I really wanted to keep the look of the claws being a part of the book. I didn’t want holes and cut leather to be seen. This is going be be seen via camera as a prop so I really wanted it to look good!:
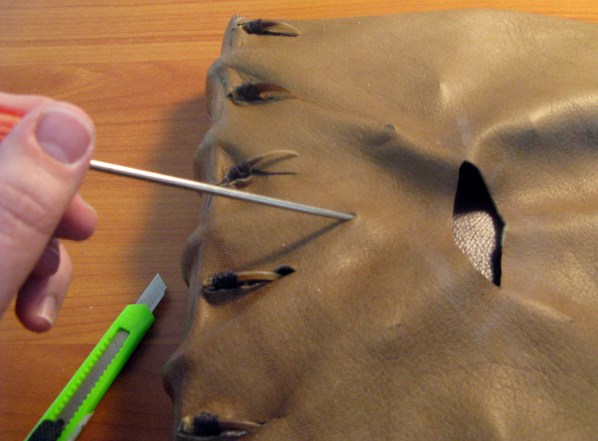
Took a lot of elbow grease to get those claws through, but it was worth it. The picture here shows me working them through after making small slits since the holes the awl made were not cutting it (no pun intended). Unfortunately, I got so focused on this cover, that I neglected to take more pictures of the progress here. I can say that it went very smoothly. I believe it all comes down to the leather here being so soft pliable. One by one I was able to get all of the claws through. Then I cut more of the leather to reveal more of the red beneath. Then I glued the leather to the cover. This took some doing as I knew I needed a lot to manipulate the leather into a wrinkled look. I used brushes and my fingers to get it all under there. Had to make my way around the claws – fly blind as it were – and get the glue onto every part of the surface:

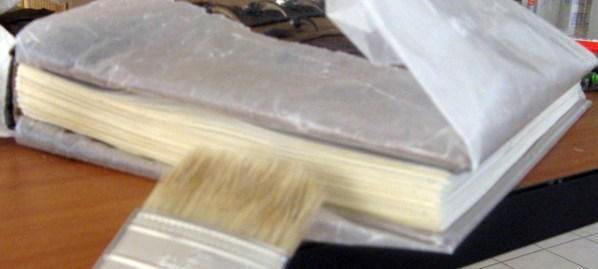
My next step was to age the pages. From my instructions, the book would be seen either closed or open to the “Hero Pages” – which are the pages to be seen on screen close up. I used watered down coffee with a drop of ink. I brushed the watered down mixture on in layers bit by bit until I got the color I was looking for. This is also the mixture that I used on the hero pages before I drew and wrote the text on them. The wax paper was used to keep the brush from getting the leather wet. I noticed that this sheep skin became dark easily when wet:
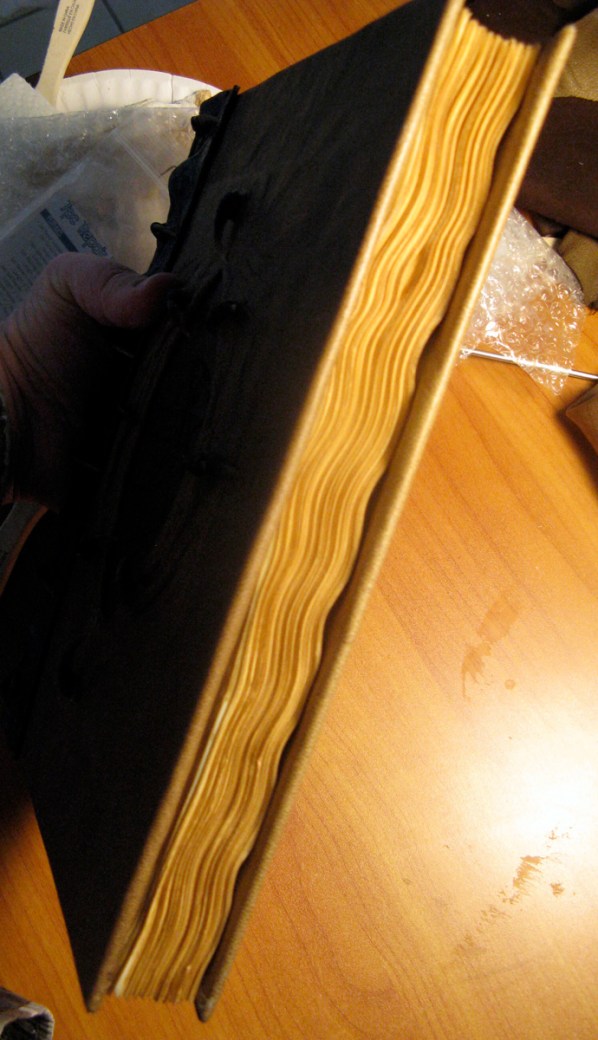
A nice “side effect” of this technique is that it did wrinkle the pages. Since I only did this to the exterior of the pages, I was able to get a nice wrinkled, wavy look to the pages:
Next step – finishing touches!


2 comments