One thing that I really enjoy while working at my drafting table is having my tools at the ready and at arms reach. I hate having to pause while I’m in the middle of a drawing to hunt down an eraser or sharpener or a ruler or whatever. It ruins my workflow and takes me out of the zone.
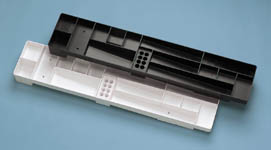
I remembered that an older drafting table of mine (I bought this one about two years ago) came with a couple of plastic ‘caddies’ that connected to the left and right sides. They worked pretty good and best of all, they kept my tools at the ready.
My goal then was to see if I could find these drafting table caddies and pick up four – 2 per side.
But I ran into a problem. These cheap little things are…expensive?? If you look up drafting table caddy, most of the ones that pop up are around 20 bucks – each! That’s $80 for four cheap little organizers for the side of my drafting table. That’s not happening. Another problem is that for a majority of them, you cannot change how they are sectioned off. Most of them are one solid piece. And the last problem I had was that none of the caddies that I wanted had any “verticality” to them. They were all flat.
After all of that, I was frustrated and was wondering if I really was going to have to plop down eighty bucks for these things that I might end up hating.
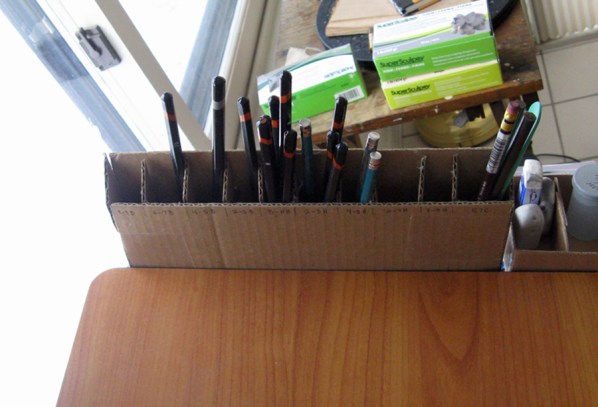
I then remembered a pencil holder I had made myself for my table. I really like it because I sharpen my own pencils with a knife and sandpaper and they’re needle sharp. I put cotton balls in bottom so the tips wouldn’t break or dull while stored. It was in the realm of what I wished would be in a drafting table caddy. And I had even made it stable by adding an extra bit of cardboard on the front so it wouldn’t fall over. Little did I know at the time how helpful that would be now! I slid it onto the upper righthand side of my drafting table and low and behold it fit like a glove. I just had to attach it.
I decided on Gorilla Glue.
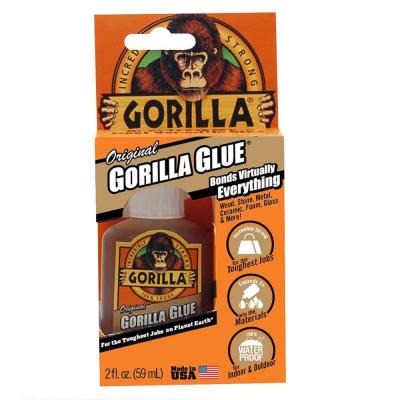
It’s a great glue. Nice and strong. The only thing to keep in mind is that it needs some assistance to begin with. You can use clamps, but I went with a bunch of packing tape to keep it in place while it adhered and dried.
The next morning I tested it and it was nice and solid. A great start!
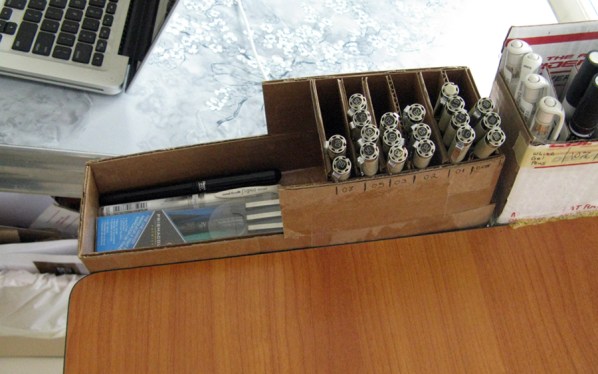
I had my first caddy for my pencils. I decided that my three other sections would be for my pens, markers, and the third would hold erasers, blenders, sharpeners and my little watercolor set I use when I’m out and about.
I cut out the cardboard and decided how to section things off in each. First, the markers. As you can see I have my cool greys sectioned off in order of darkness and at the bottom I have some white gel pens.
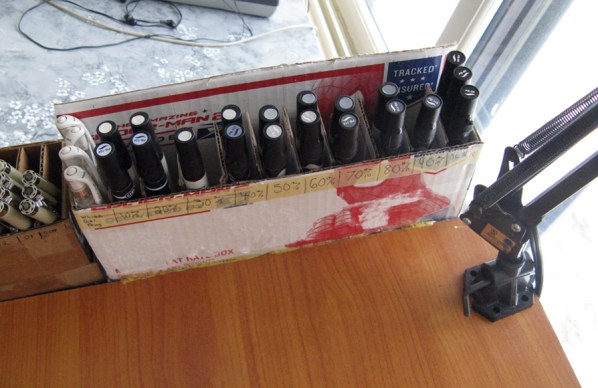
The micron pens are sectioned off by thickness. And I have a section at the bottom for my colored pens, my brush pen, and another white gel pen.
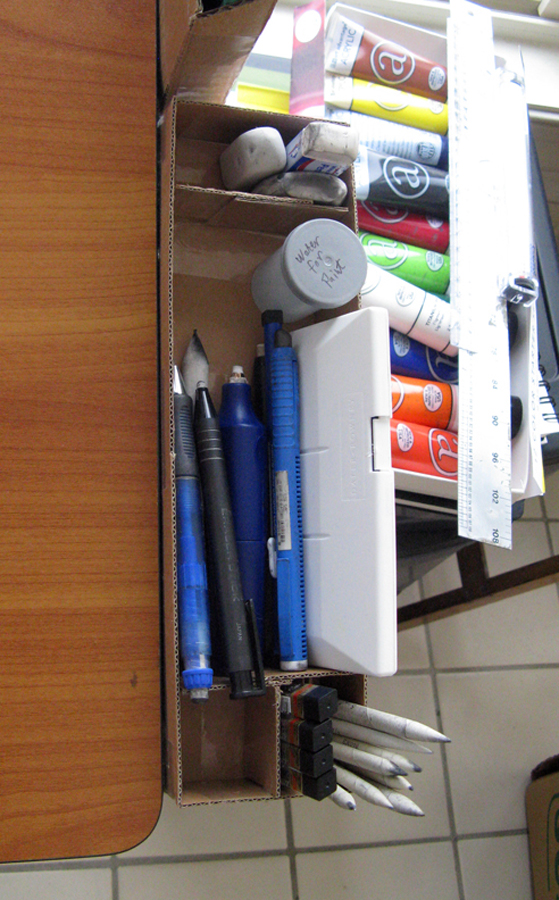
And the rest – block erasers at the top, then other erasers and watercolors, and at the bottom is a section for my sharpener, mechanical pencil refills, and my blenders.
And that’s all she wrote! I’ve got the personalized caddies that I wanted and I didn’t spend a dime. Just took some glue, tape and cardboard.

I’ve only done a few illustrations and storyboards on my table with this new system and I have to say, I love it! It’s been saving me time and it just feels really good to have it all there ready to go. It also lets me know what I need cause I can see it all right there in front of me. I might do some additions and change a few things after I’ve tested it all a bit more, but right now it’s pretty slick.
Hope to show off some new artwork soon. Stay tuned!

