Some time ago I purchased a very large 500 page sketchbook. The singular purpose of this sketchbook was for a project that I had roaming around my head for some time. I wanted to plan out this project in one place. I knew that I would need a big sketchbook for this because there was a lot to do. The project is called TRIBES. I won’t get into what it is until later on, but I felt that this sketchbook I found online was perfect. And is it big! I started working in it, but it just didn’t feel right. It needed something. And leather binding it popped into my head.
Those of you that follow me might remember a project I worked on called The Unearthly. It was a project I was brought in on to create the necronomicon for. I made a series of posts showing my step-by-step progress. You can check it out here.
On my TRIBES project, the sketchbook was a finished book. I didn’t need to make it from scratch. I just wanted to leather bind it, and maybe add some extra flourishes.
First I purchased a nice sheepskin leather and a bone folder. I used sheepskin on my necronomicon and really liked how soft and easy to work with it was. I didn’t use a bone folder with the necronomicon. But at the same time, I didn’t have letters to coax the leather around. So I think the bone folder was a smart buy this time around.
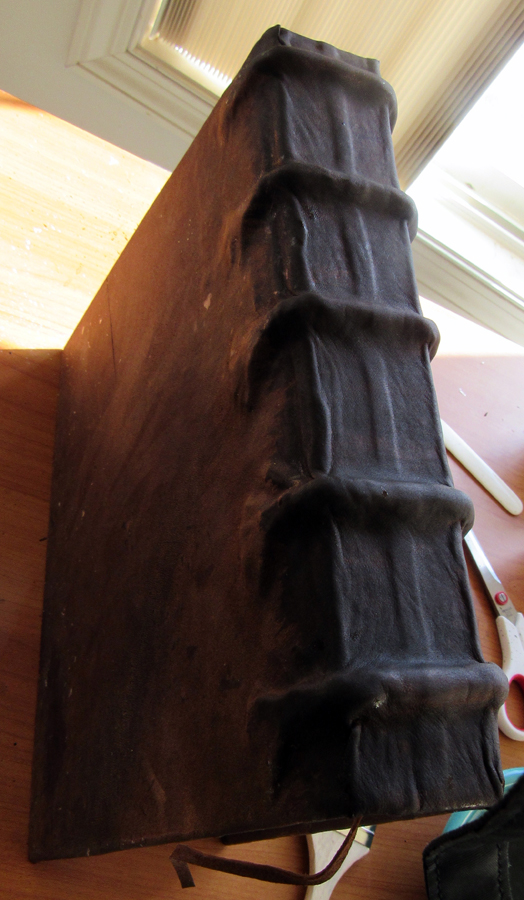
I also wanted to have ropes on the spine. But since I wasn’t actually bookbinding it, they would have to be ‘faux’ – just glued on to the spine instead of actually a part of it and sewn on. That was a little bit of a hassle to get right, but I really like the look and the payoff was worth it.
On to the step-by-step:
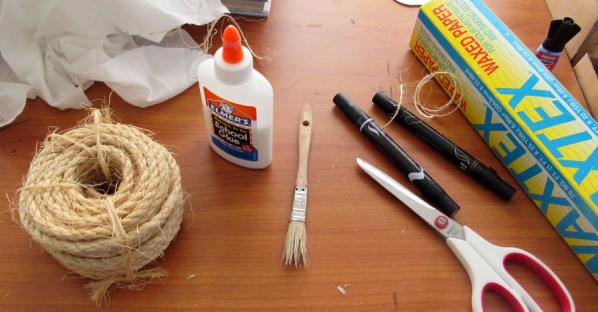
First, here are a few of the supplies that I knew I would need – elmer’s glue, wax paper, super glue, cloth, rope, small chip brush, markers, scissors, twine, etc.:
I started out by drawing out “TRIBES” and then cutting out a few layers of cardboard (from one of my drawing pads). I glued them together and glued them where I wanted them on the cover. I used elmer’s glue, but they ended up coming off so I did switch to the super glue soon after (ran into the same issue with the ropes on the spine):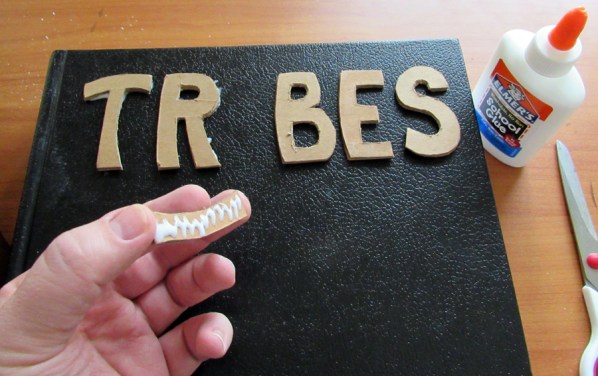
Next I measured the leather and cut it to size. I cut off the corners and glued down the back:
I then glued down the leather on the spine. It takes a lot of massaging it down and stretching the leather around corners as you go. One step that isn’t shown (but is shown in my necronomicon – part 2) is adding the cloth over the ropes on the spine. I ran into the same issue using this particular cloth as I did last time. It became too rigid when the glue was added to it. I’ll have to look into an alternative for my next project. That aside, you can see here that I used the small chip brush to smear the glue around evenly. I ended up using a bit too much and did have a few issues with it dripping on to the pages. But that was easily cleaned up: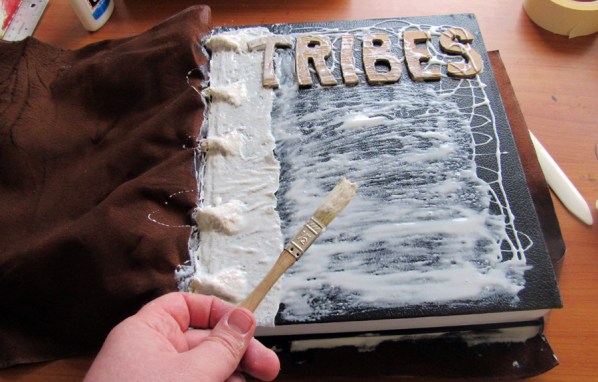
Here you can see the bone folder. It’s a traditional type made from ox bone. There are some out there that are plastic (and you can really use almost anything – I used a ruler last time). But I really wanted to be authentic and traditional on this project: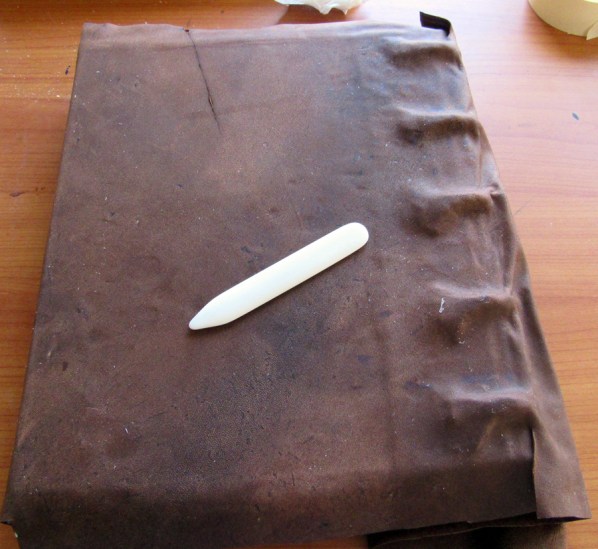
Moving the leather around the letters was a real challenge! It took a while to stretch the leather and flatten it down. It’s about 3/4 done here:
Next it was on to folding the leather around the cover. As you can see here, I did have an issue with the leather bunching up here and there. This was because of my stretching it around the letters on the cover. I just had to snip it here and there and it worked out fine: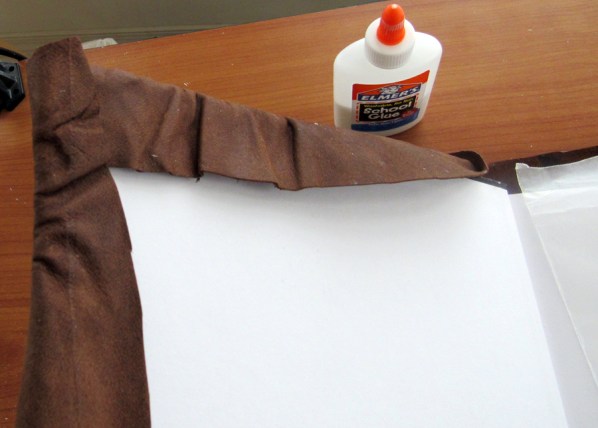
After some trimming, I was able to glue it down:
Now the sides look nice and crisp. Almost like I knew what I was doing!:
There was one other finishing touch that I wanted to do. I wanted a hand print on the cover – like one would see done by primitive man on a cave wall. Where someone put their hand on the wall and splattered pigment on it to leave a negative impression. I traced my hand and cut it out. I taped that down and made a mix of coffee and ink. I took a toothbrush, dipped it into the mix and splattered it on:
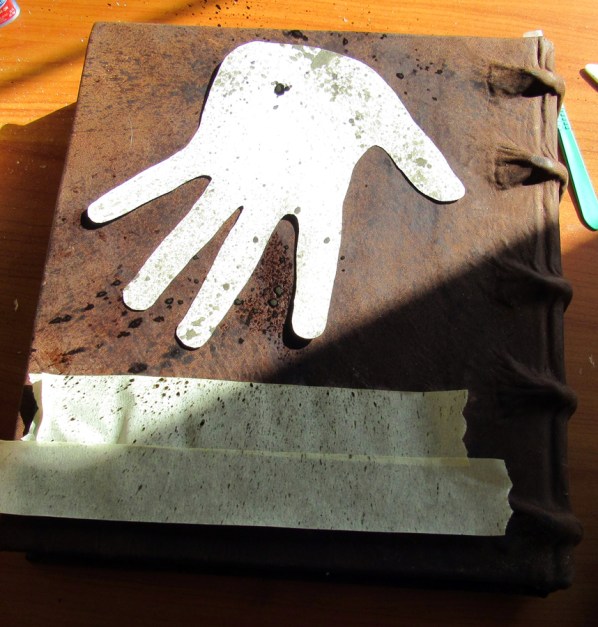
I also dabbed it not the spine:
In this picture (and the previous one), you can see that I had also added a leather bookmark. Just glued that down after I finished gluing the cloth to the spine – very simple:
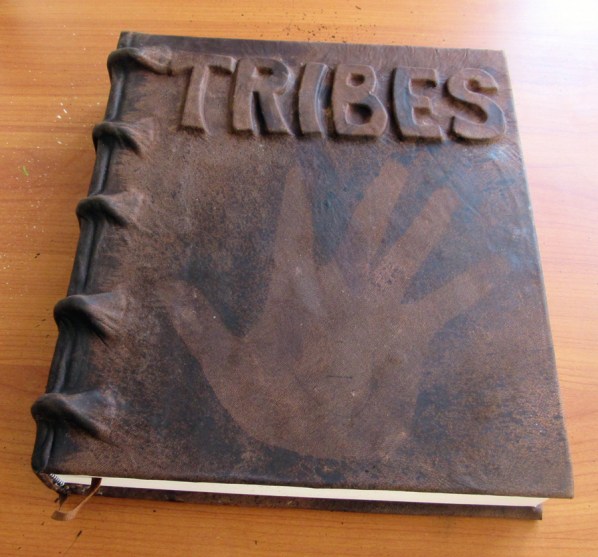
Finished book: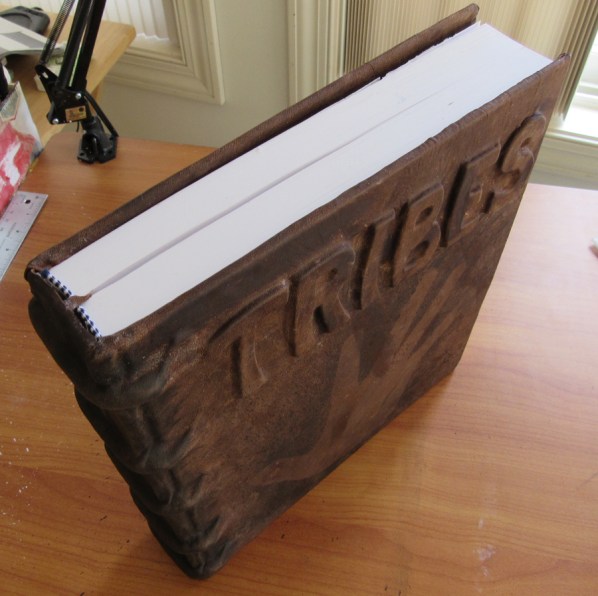
All done! Now I just have to fill it with 500 pages worth of drawings to plan out this elaborate project. ….could take a while. But it should be worth it. How could I not be inspired with this looking at me? Not to mention, it really smells nice!
That’s it for this post. I’ll show off more bookbinding/leather binding sometime in the future I’m sure. This was a lot of fun! And I really want to keep it in my hands and work in it.
Until next time!

